How to Create an entity workflow
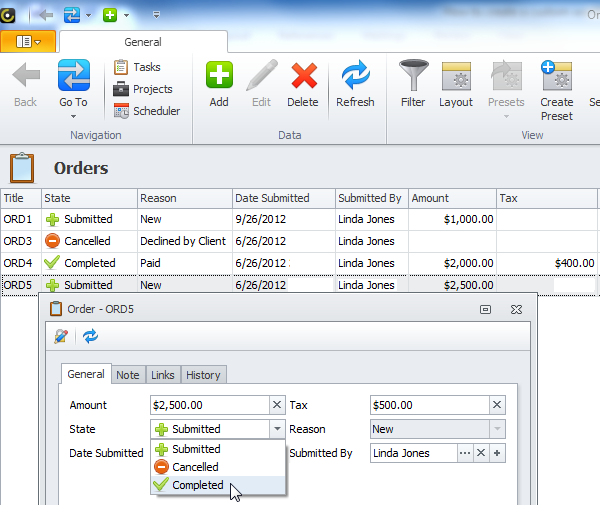
Entity workflow is a set of states (or statuses) that represent the life cycle of the given entity. For example, the Order entity can have at first the Submitted state, which can be later changed to either the Canceled state or the Completed state.
Entity workflow consists of States, Transitions, Reasons, and Actions.
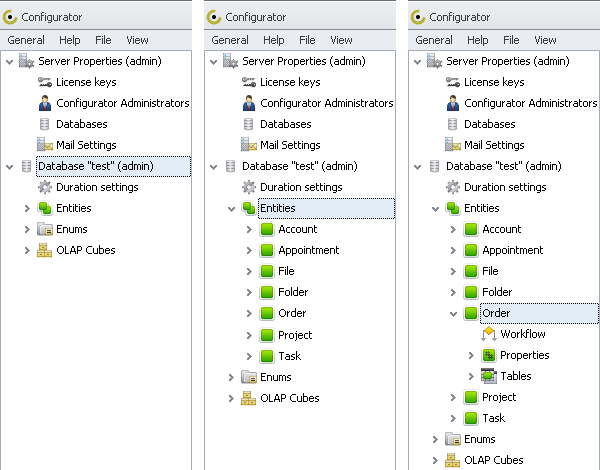
To create states, transitions, reasons, and actions within an entity workflow- Log on to the database in Configurator, click the right-pointing arrow next toEntities, click the right-pointing arrow next to required entity.
States
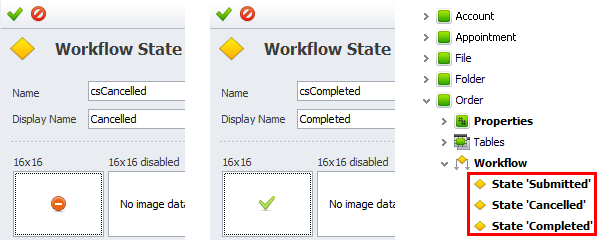
State defines the status of the entity within its workflow.
To create a state
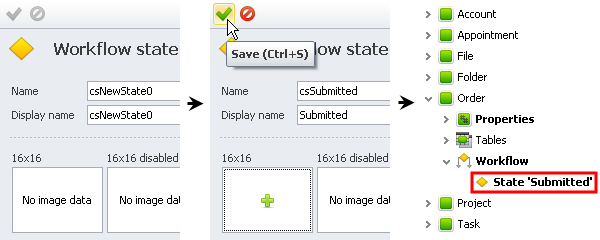
1. Right-click Workflow, and then click Add State.
Note Besides the newly created state the program will also create State and Reason properties automatically.

2. Enter settings of initial state, and then click Save.
3. Add and save other states.
Transitions
Transition defines the change from one entity state to another.
To create a transition
- Right-click Workflow, click Add Transition, click required states in the From and the To boxes, and then click Save.
Note You must create an initial transition by selecting initial state in the To box and leaving the From box empty.
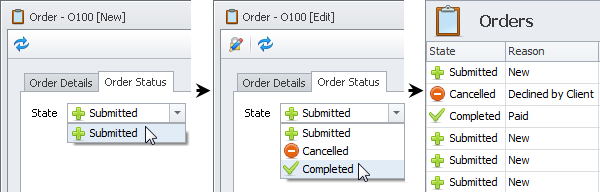
Note There may be multiple transitions from one state to other states, for example, the Order entity can be changed from the Submitted state to either the Cancelled or the Completed state.
Reasons
Reason defines why entity changes from one state to another.
To create a reason
1. Right-click the initial transition, and then click Add Reason.
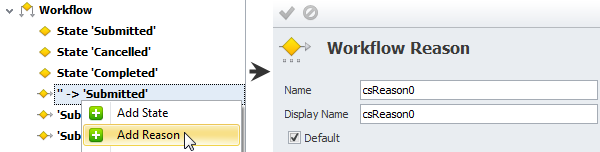
2. Enter the name of initial reason, and then click Save.
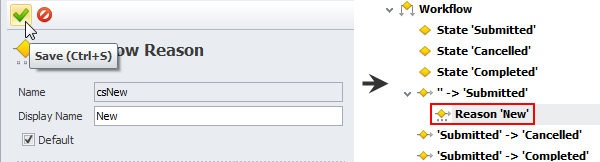
NoteEach transition should have at least one reason, but if you have a simple workflow and you don't want to specify the reason each time you change one entity state to another, you can leave the Default check box selected, so that the reason can be entered automatically when the entity state is changed.
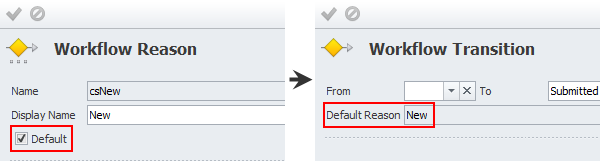
3. Right-click other transitions, and then add their reasons.
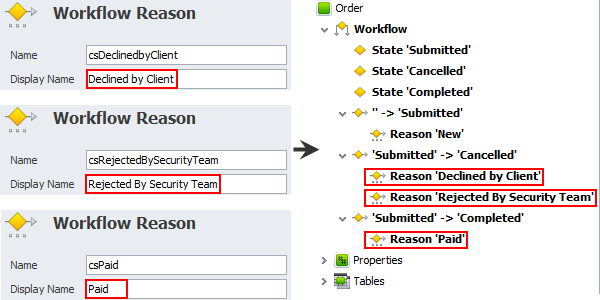
Note Transitions can have several reasons, for example, the Order entity can be changed to the Cancelled state because it is either Declined by Client or Rejected by Security Team. If there is more than one reason for one transition, the Default check box should be selected for only one of the reasons.
Actions
Action defines the entity property that should be filled in automatically when the entity state changes from one to another.
To create an action
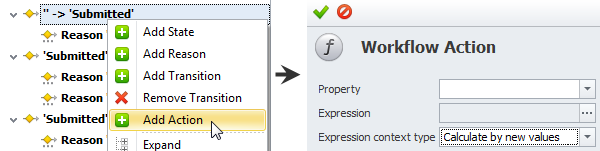
1. Right-click a state, transition or reason, and then click Add Action.
Note
- If you add an action to a state, this action will take place when entity gets into this state regardless the transition (as there can be several transitions to one state).
- If you add an action to a transition, this action will take place when entity gets into the state by this particular transition regardless the reason (as there can be several reasons for one transition)
- If you add an action to a reason, this action takes place only when entity gets into the state exactly with this reason.
2. Click the required property in the Property box and set the expression in the Expression box. For example, when the Order entity changes to the Submitted state, the program can automatically fill in the Date Submitted property with current date and time value or the Submitted By property with current user value.
Tip In most cases you can leave the Expression context type box with the Calculate by new values option. The Calculate by old values option is used in rare cases when you need the program to fill in the value which was actual before the recent change.
3. Add other actions, and commit the changes.
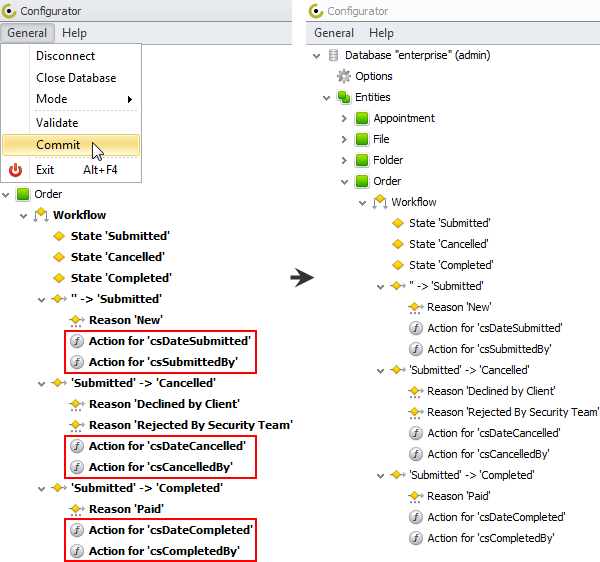
Note The State property and the Reason property will be appear in the main view and detail view of the entity.